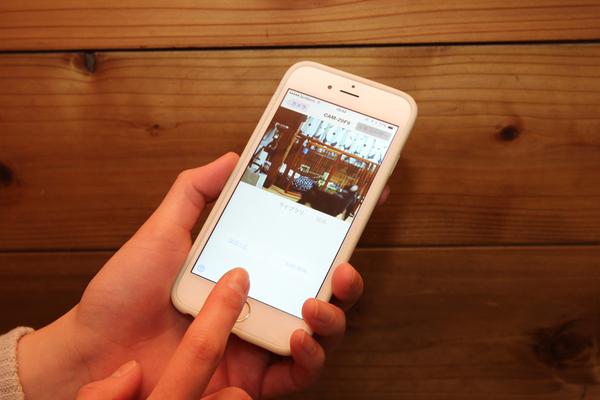
A high -performance network camera costs 20,000 to 40,000 yen, but an entry model can be purchased for less than 10,000 yen.This time, I would like to introduce a technique to introduce a network camera that can monitor your home or office from a remote price at a reasonable price.
Even a camera with a 10,000 yen or less can connect to a smartphone app from the high quality of 1 million pixels and a smartphone app from the go.
Set up the network camera "TS-WLCE" that can be purchased for 6500 yen
If you use a network camera, you can easily check your home or office from the go.Last time, we introduced a high -performance model with a night vision function and a remote control function of the camera, but some people may want to make it cheaper.Therefore, this time, we will introduce a surveillance camera environment using the entry model "TS-WLCE" (I-O Data Equipment, actual sales about 6500 yen).
"TS-WLCE", an entry model of the network camera of I-O data devices.The actual selling price is around 6500 yen
First, check if you can introduce a network camera in your home environment.The I -O Data Data device has released a "home network checker" app that checks the environment.It can be used with a normal router, but it may not be possible to connect in a special situation that is operated by stacking routers on the router.In that case, it is necessary to operate the second router as an access point or connect the network camera to the first router.
If there is no problem, proceed to work according to the bundled installation guide.First, note the MAC address on the back of the main unit.This is the initial password when accessing the camera.You can shoot with a smartphone.Next, assemble the stand and attach it.The stand can be attached to the wall with a screw.
It has a screw hole for fixing, a wired LAN terminal, a power supply terminal, and a WPS/initialization button on the back.
When you are ready, turn on the power and press and hold the Wi-Fi router WPS button.Next, press the WPS/initialization switch on the TS-WLCE itself, and when the access lamp turns on, the connection is completed.The TS-WLCE WPS switch is a little troublesome to be able to press unless you insert a small pin.
When the WPS connection is not successful, or when the Wi-Fi router does not have a WPS function, it is necessary to manually set it.First, download "MagicalFinder (Easy IP address setting tool)" from the I -O data device site.Next, connect TS-WLCE and Wi-Fi router with a wired LAN cable and access the camera from MagicalFinder.
When the connection is completed, install the app on your smartphone or tablet.The app name is "QwatchView" and is released on both iOS and Android.After launching the app, read the QR code of the included "Easy Connection Sheet" and register the camera.You can check the video from the device connected to the same network.
Next, turn off the Wi-Fi connection of the smartphone and connect it by mobile communication.Still, it would be successful if the video was displayed.If you cannot access the camera, you need to open the port by setting the router.The HTTP port and RTSP port number listed in the "Easy Connection Sheet" can be passed through the camera.Please refer to the instructions of each router for this work.

Download "Home Network Checker" from the I -O data device site
It is OK if it is displayed as "The Internet environment can be used with remote access"
Press the Wi-Fi router WPS button
Press the WPS/initialization switch on the main unit and turn on the access lamp OK
If you do not connect well with WPS, connect with a wired LAN and use "MagicalFinder".Download from the I -O Data Equipment site
The firewall warning screen opens, so click "Available"
The camera connected to "MagicalFinder" is displayed, so click "Browser".
The username is Admin, the password is entered with the MAC address
I was able to access the camera.Click "Settings"
Open "Basic Settings" → "Wireless Settings" and click "Search".Select the Wi-Fi you want to connect from the list and enter the encryption key
Install the "QwatchView" app
Read the QR code of "Easy Connection Sheet"
I was able to register a network camera.Tap the thumbnail
The video was displayed!
(On the next page, "Focus is manual! Don't forget to fix the camera")


